STEAM Experiments – Colourful Jar Experiment

This lovely, colourful science experiment is super easy to set up and carry out but looks amazing! As well as being fun to watch it’s also great for learning about density ( the oil layer floats on top of the water ) and diffusion ( as the food colouring spreads out through the water layer).
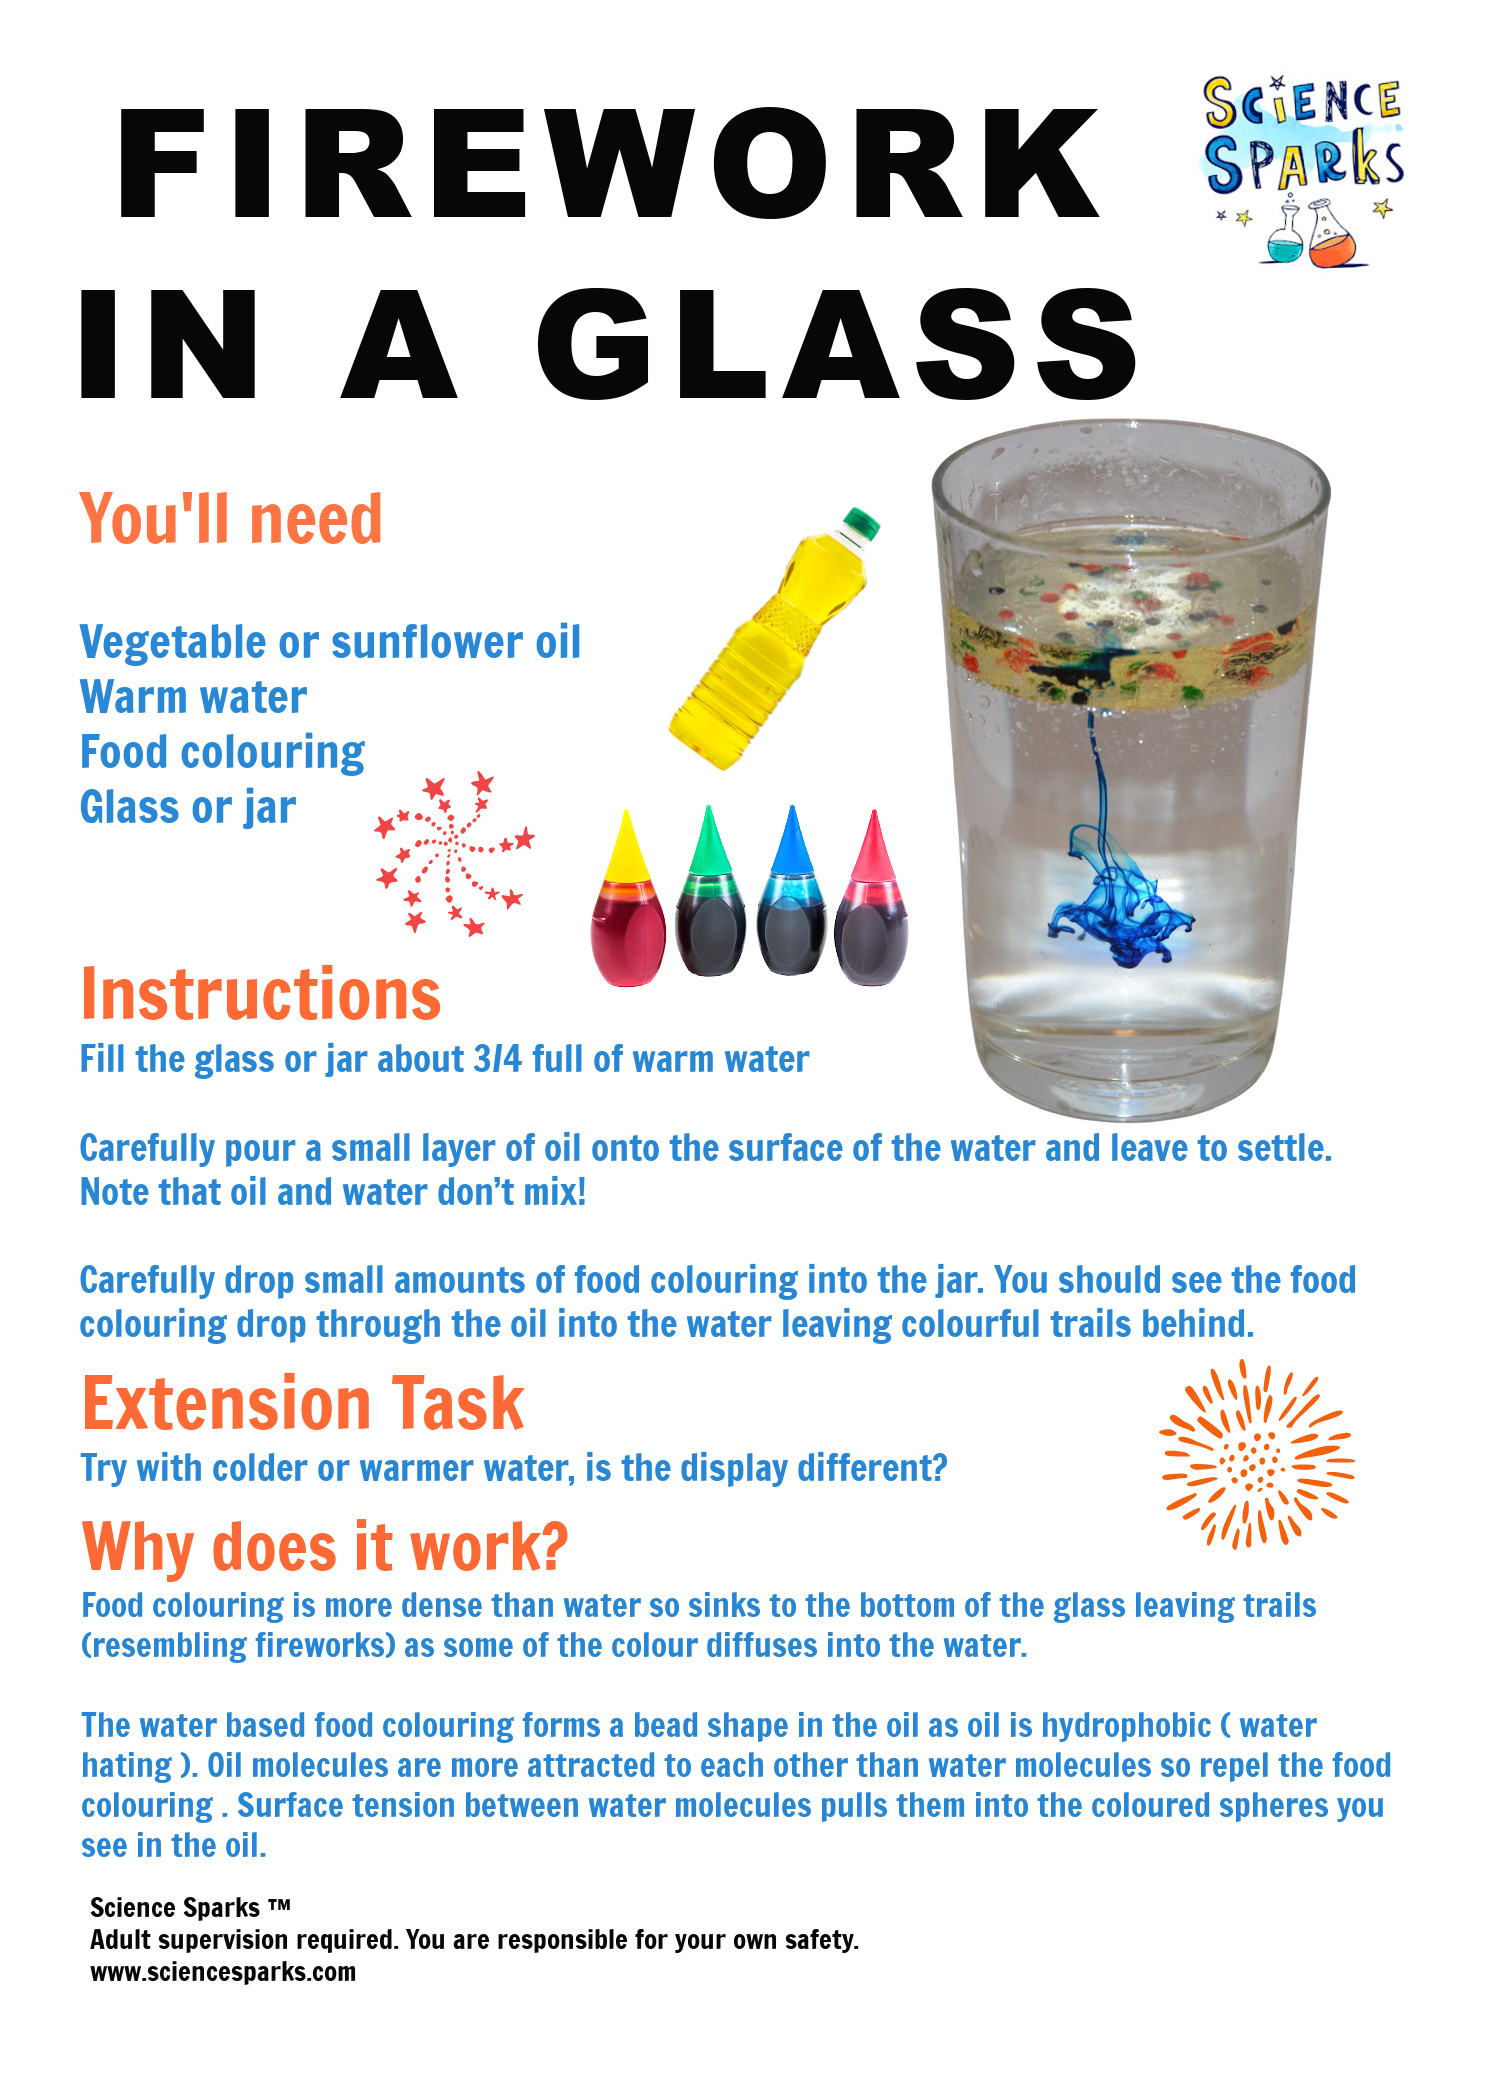
Instructions for a firework in a glass experiment

Colourful Jar Experiment

You’ll need

A jar or glass

Warm water

Oil

Food Colouring

Pipette
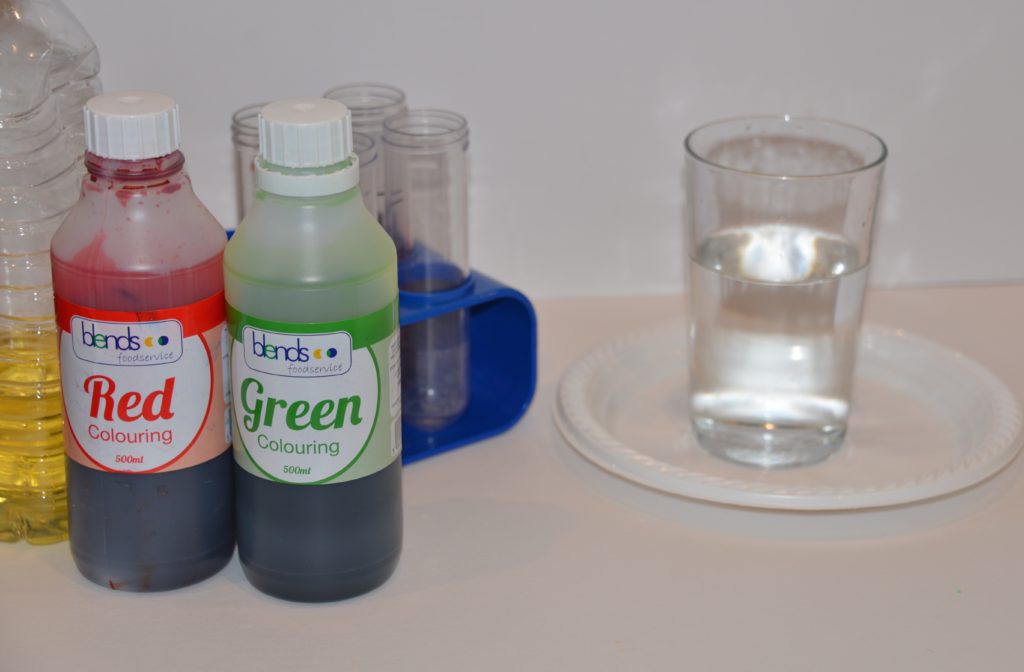
a glass of water and food colouring ready for a colourful water experiment

Instructions

Fill the glass or jar about ¾ full of warm water

Carefully pour a small layer of oil onto the surface of the water and leave it to settle. Note that oil and water don’t mix!

Use a pipette to carefully drop small amounts of food colouring into the jar. You should see the food colouring drop through the oil into the water leaving colourful trails behind.
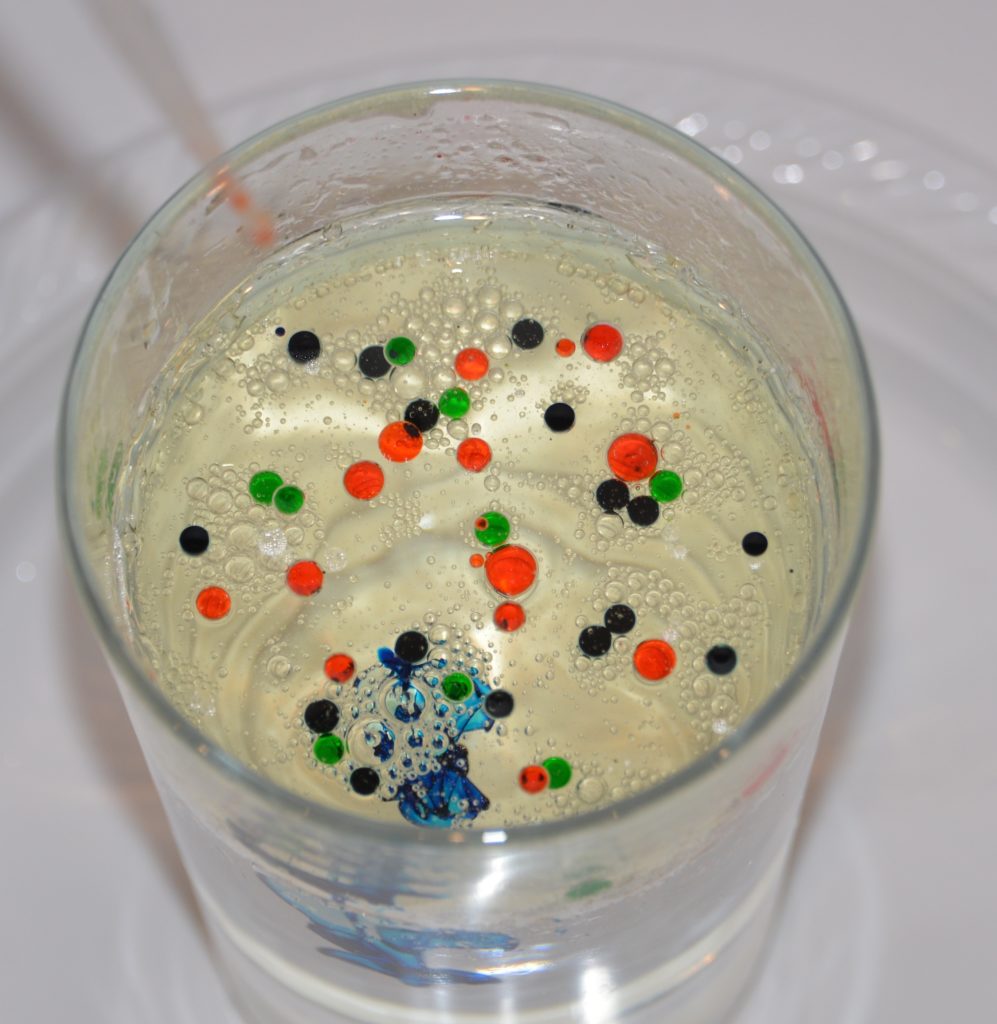
Image of droplets of food colouring sitting on top of a layer of water.

Why do oil and water not mix?

Water is a polar
Flying Elf Hats

These flying elf hats are great fun for younger children in the run-up to Christmas. They are quick and easy to set up but keep kids busy for a long time. All you need is an empty milk container, green and red paper and tape.

The same activity is often called rocket mouse, as traditionally, the cone is made to look like a mouse, not an elf hat.

You’ll need

Green and red paper or card

Scissors

Milk container – clean and empty

Tape

Felt tip pens

Instructions

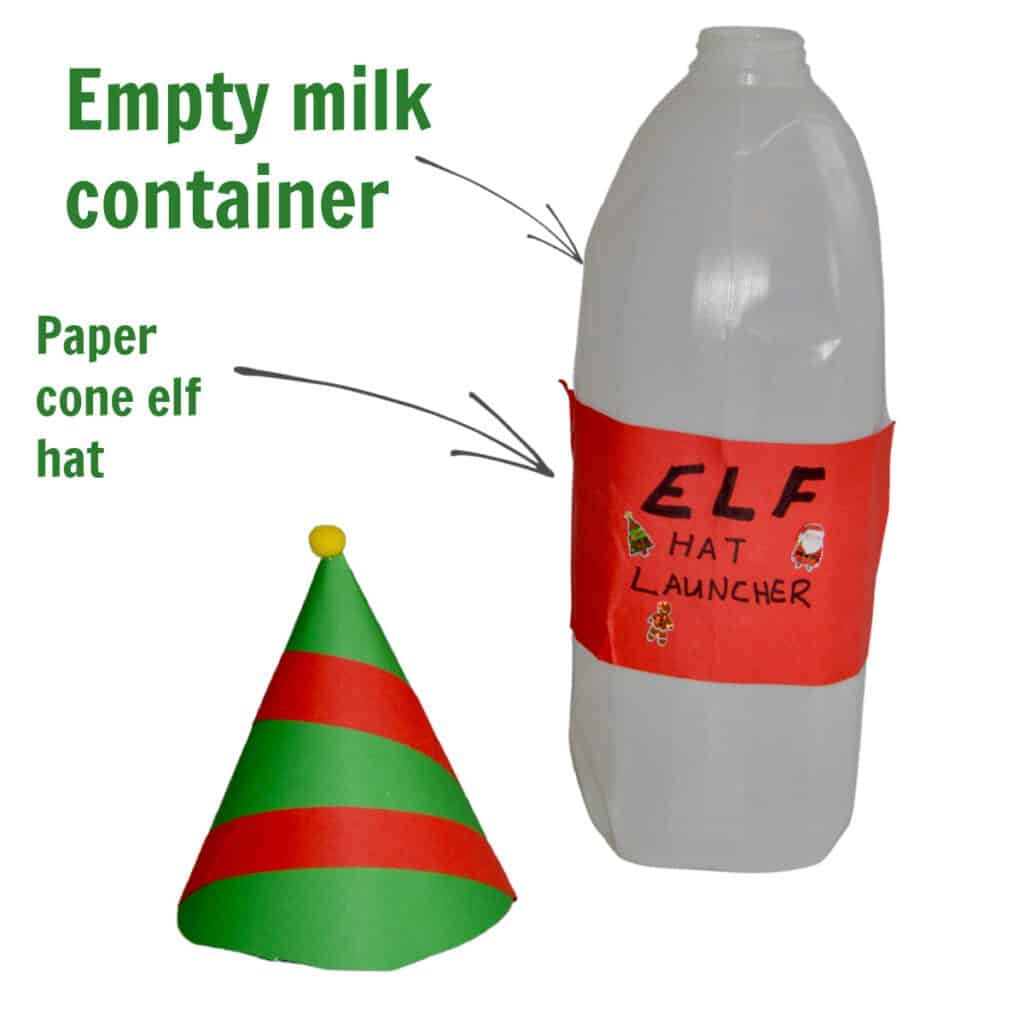
Create a cone with the paper and tape. I added some stripes to mine and a small pom pom to make it look like an elf hat.

Place the elf hat cone on top of the milk container.

Use both hands to squeeze the milk container. The elf hat will shoot into the air!

an empty milk jug and a paper cone made to look like an elf hat for an elf themed science challenge

Why does the elf hat fly?

When you

Christmas Candy Experiments – Edible Christmas Science for Kids

Who loves Christmas candy? We do! These easy Christmas candy experiments are a great way to learn while enjoying Christmas treats!

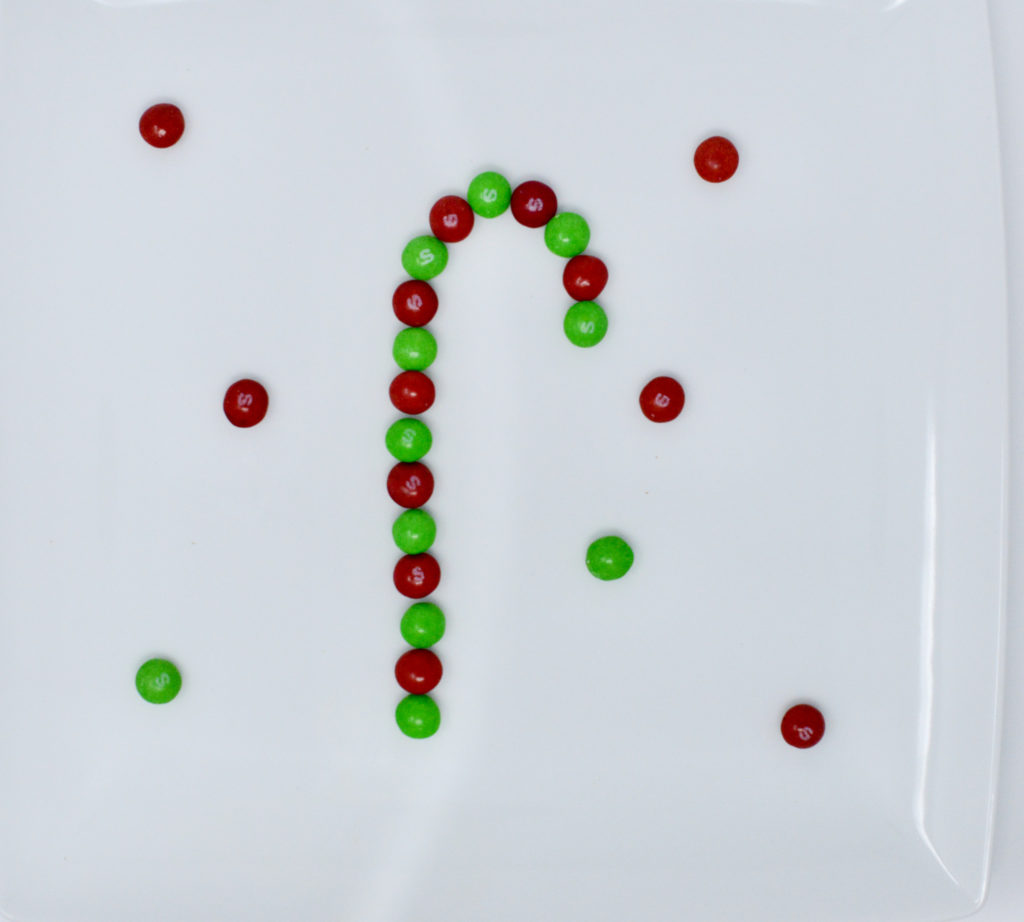
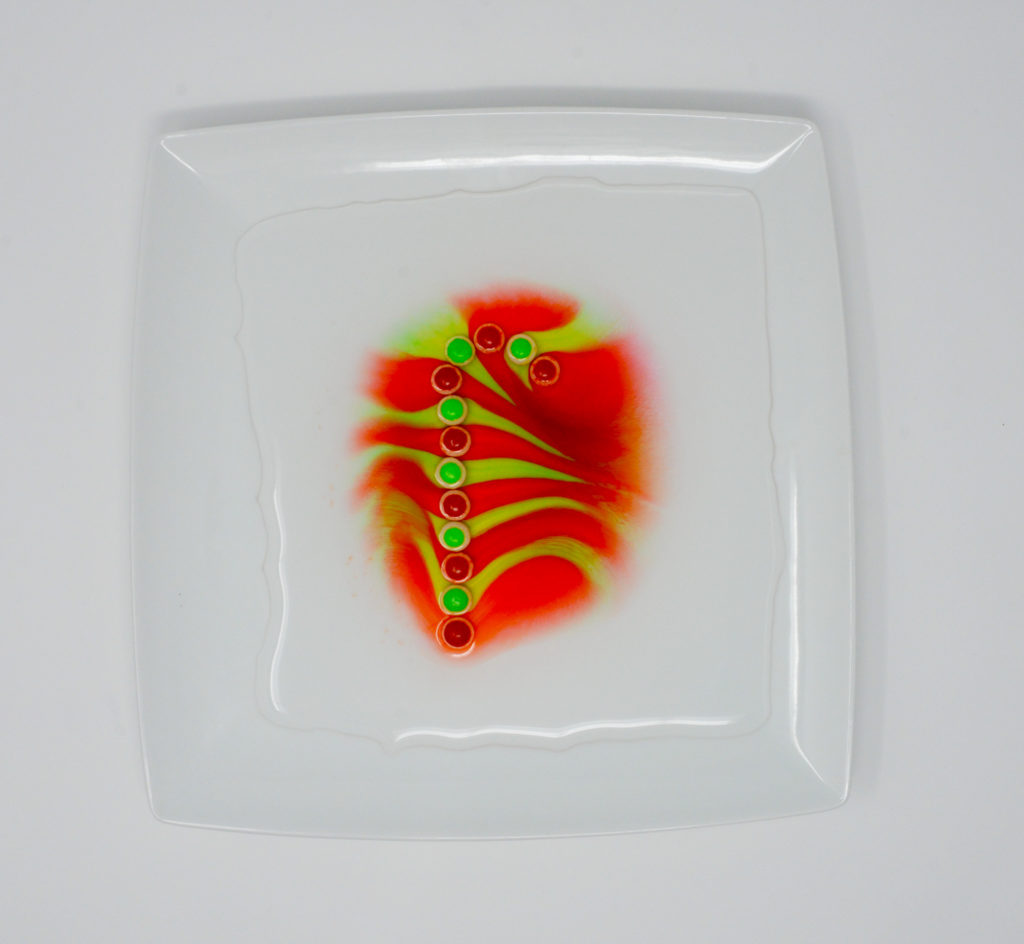
First up is a Christmas twist on the traditional skittles experiment. All you need to do is arrange your skittles on a plate or tray ( we chose Christmas colours ) and slowly pour warm or cold water over the top. The colour from the skittles dissolves into the water.

Be careful not to nudge the container as the colours will merge, and you won’t get the separated colours effect.

Christmas Skittles Experiment

Christmas skittle candy experiment - skittles in the shape of a candy cane
Skittles before water
skittles in the shape of a candy cane with colour from the sweets dissolved in the water
Skittles after water

Little Bins for Little Hands tried a peppermint in water, which also worked well.

Marshmallow Snowman – Christmas Candy Experiment

This marshmallow snowman activity is great fun. Children can test different types of sticky substances to see which is the strongest. You could also try this with meringue pieces.

What are teeth made of?

Human teeth allow us to tear, grind and crush food into smaller pieces so we can swallow and digest the food for energy.

Did you know the way your teeth are aligned in your mouth is unique to you? A bit like a fingerprint.

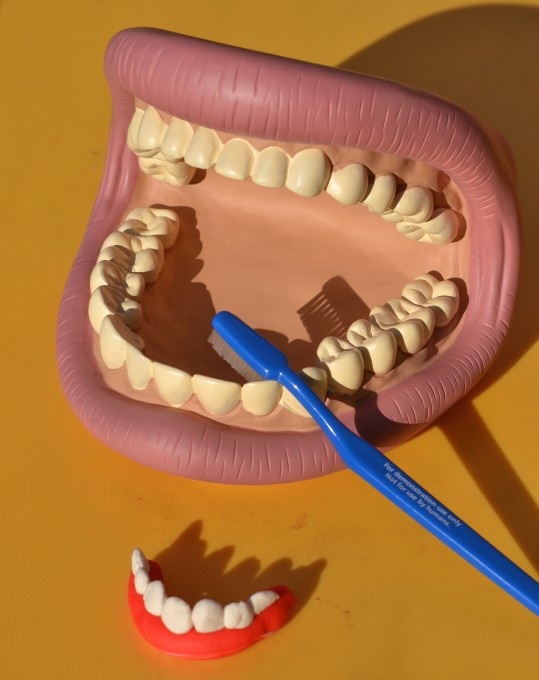
giant plastic teeth

Parts of a Tooth

Enamel

Enamel is the outer layer of the tooth and the hardest tissue in the human body. Enamel protects the inside of the tooth. It may be tough, but enamel cannot fix itself if it becomes damaged, which is why it’s so important to keep teeth clean.

Dentin

Dentin supports the enamel and protects the pulp underneath. It’s softer than enamel.

Pulp

This is the middle part of the tooth and contains nerves, connective tissue and blood vessels.

Cementum

Cementum helps the root of the tooth attach to the gums.

Blood Vessels

Blood vessels supply blood to the teeth.

Nerve

Nerves send

Burping Balloons

If you eat or drink too quickly you might find you burp! Burping is how extra gas is expelled from the body. The gas is forced out of the stomach up the oesophagus and out of the mouth!

These burping balloons are very easy to set up and great fun to watch. The balloons will only inflate a little, so don’t expect anything too impressive!

If you like this activity you’ll LOVE my other activity ideas for learning about the body!

You’ll need

2 plastic or glass bottles

2 balloons

1 teaspoon of dried yeast

1 teaspoon bicarbonate of soda ( baking soda )

1 teaspoon sugar

20 ml vinegar

20ml warm water

Instructions

Carefully add 1 teaspoon of yeast and 1 teaspoon of sugar into one bottle.

Pour about 20ml of warm water into the same bottle and quickly pop a balloon over the top of the bottle.